At the top of my
"woodworking things that intimidate me to tears" list you'll find woodcarving somewhere in the top 5, definitely far below "
magnifying glass pyrography".
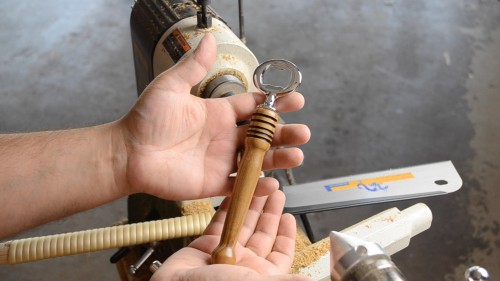
Considering I took the plunge not so long ago and faced my fear of woodturning, and currently I'm alive and not noticeably maimed (thanks to tricky camera angles at least), I figure it's time to start knocking one or two more off the list.

Thankfully this year
Mary May returned to Woodworking in America and taught a couple of classes on woodcarving. Before I go any further, if you're not already familiar with Mary she's an amazing woodcarver who's taken the time to not only teach her art form at conferences like this or in the occasional class at a woodworking school but more importantly (as far as I'm concerned) she's taken the next step and opened an online school too. But more about that below…
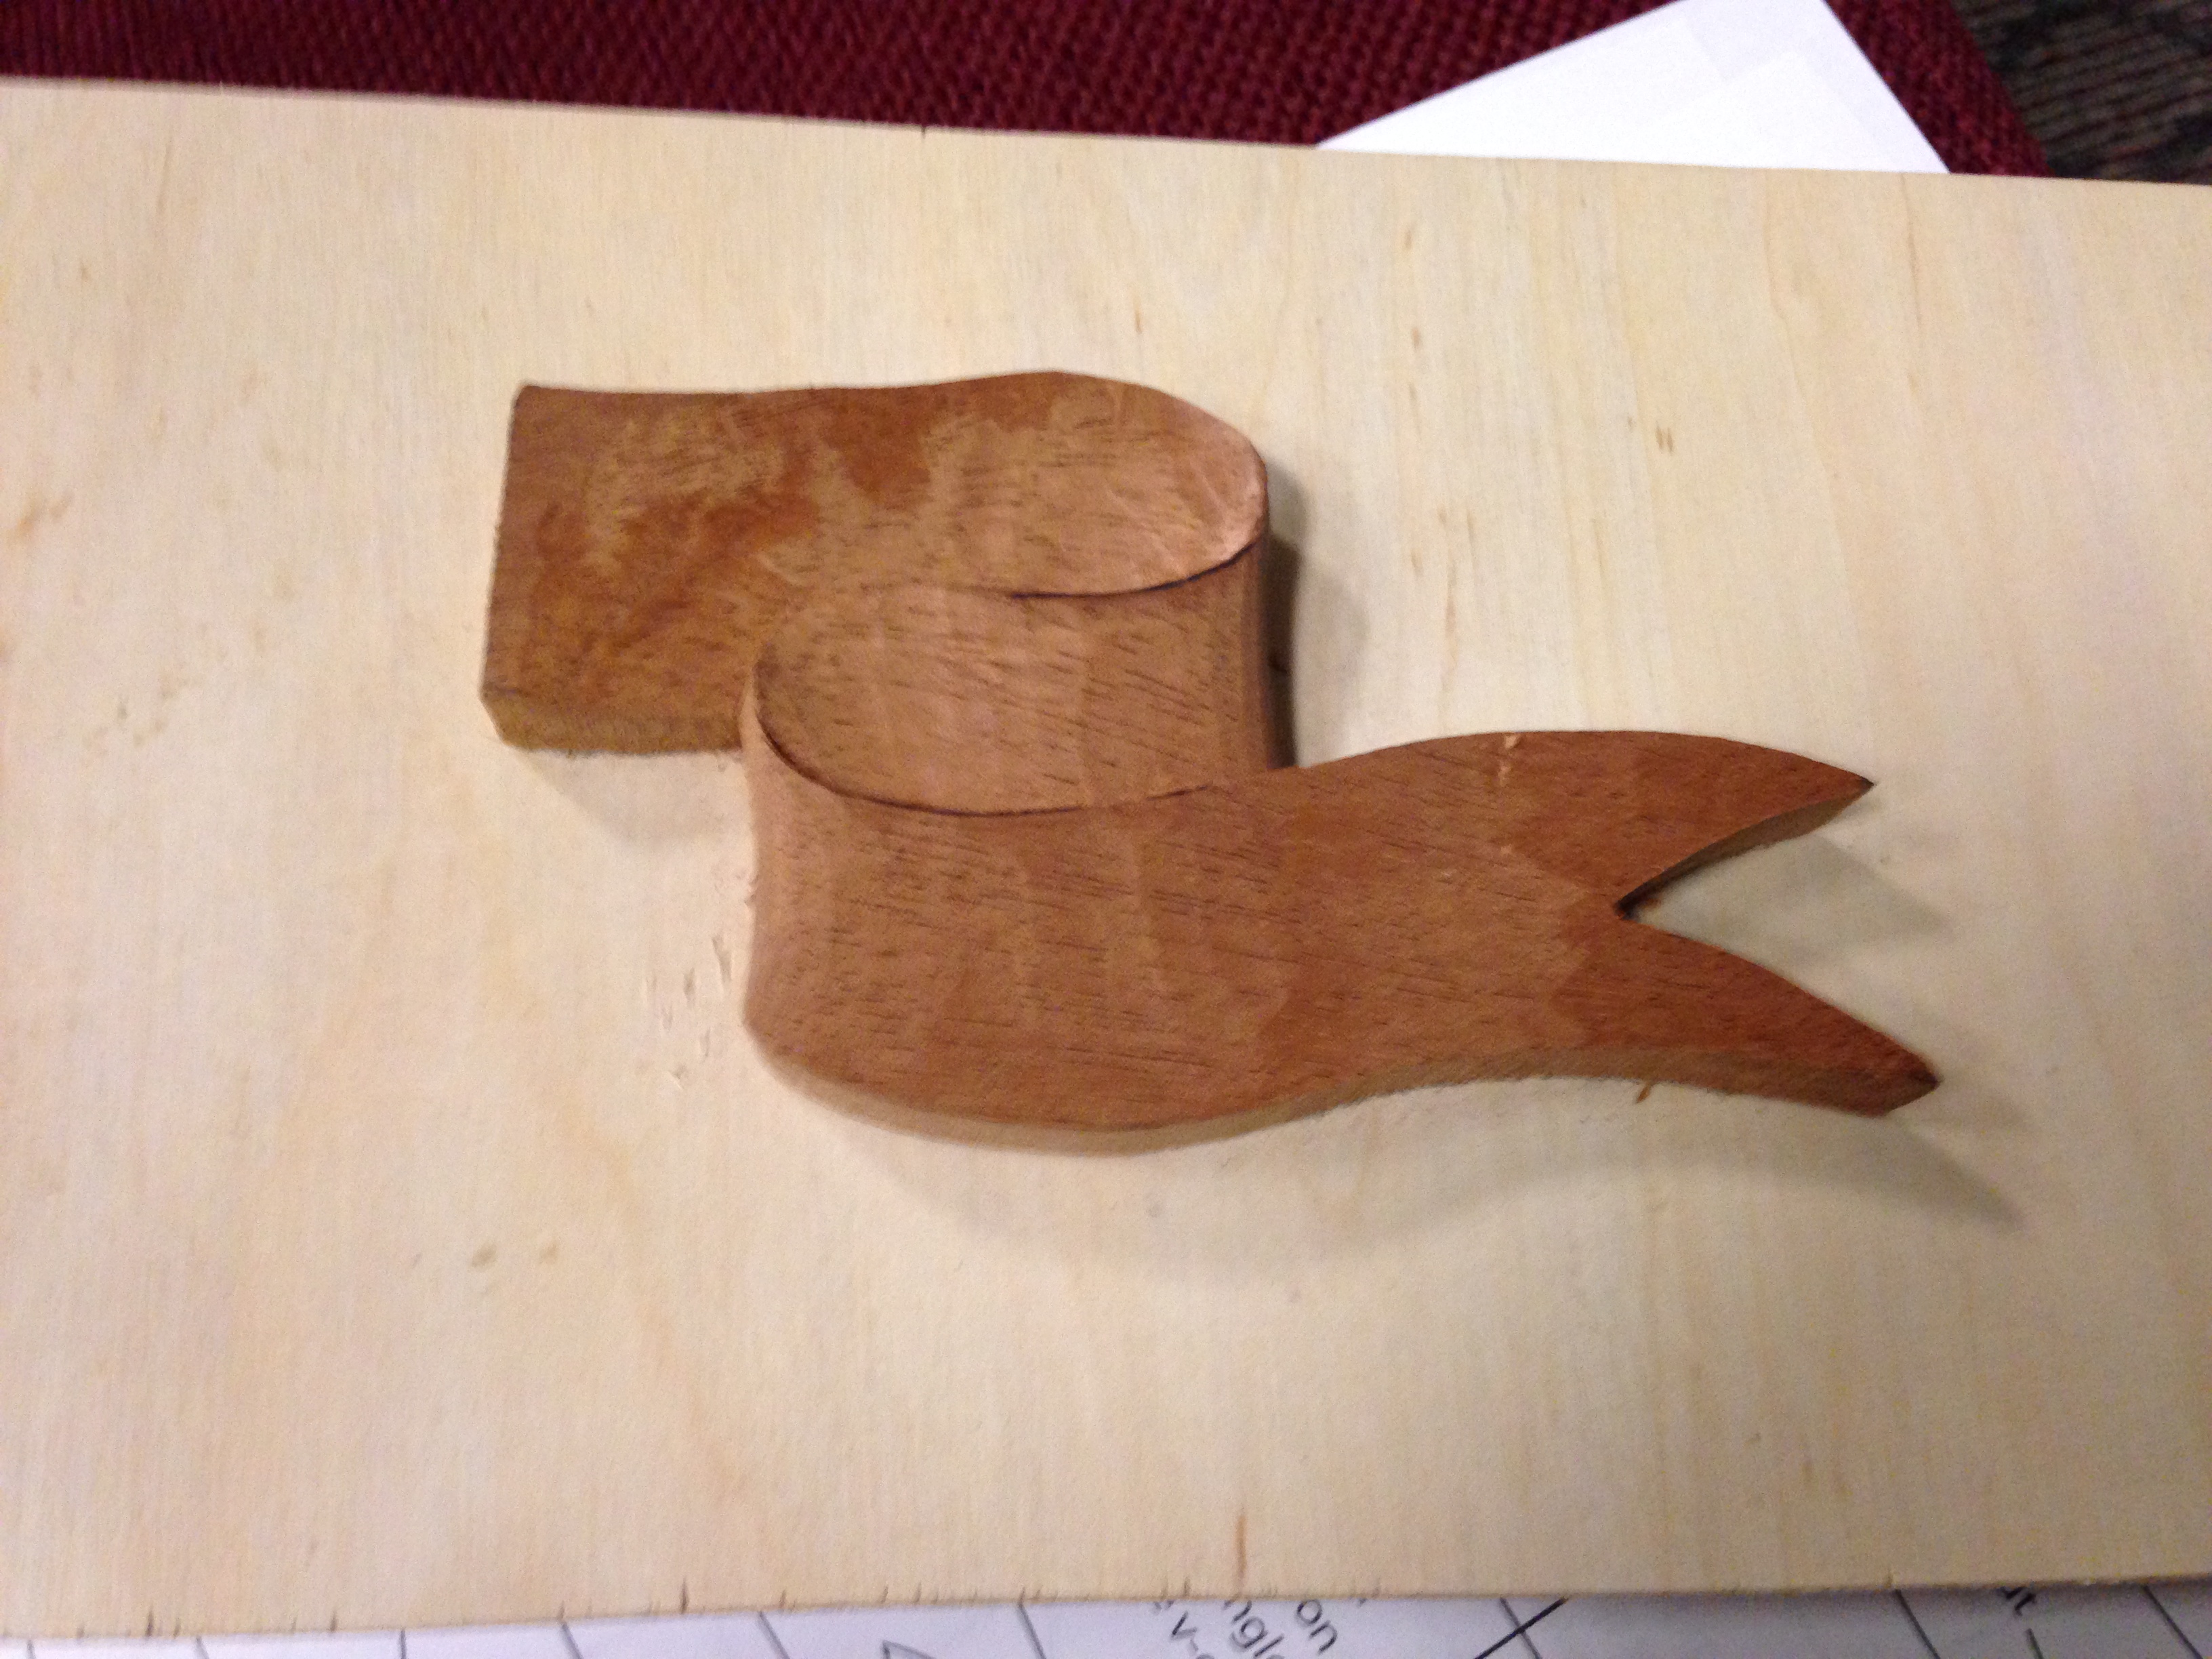
The two classes Mary was teaching this year were
"Carving Life into Leaves" and
"Linenfold Carving". The footage for today's post is from the linenfold class and has been edited to show more of the actual tool work and even Mary's body positioning at the bench to give you a feel for what you could learn if you were to sign up for her online classes.
This isn't meant to be a sales pitch by any means, but considering what I learned just from sitting in the audience and watching I can only imagine what I'd learn if I were to start following the lessons with my tools in hand repeating the action she's teaching on the videos.
Do I see myself becoming a full on woodcarver down the road? Probably not. But it would be really cool to feel confident enough with my tools and a basic knowledge of the craft to occasionally embellish a component or two on a project!
For more information about
Mary May including her online school visit
www.marymaycarving.com. And if you join, you'll also find this linenfold project as one of the many available lessons to watch and learn about.
Help support the show - please visit our advertisers


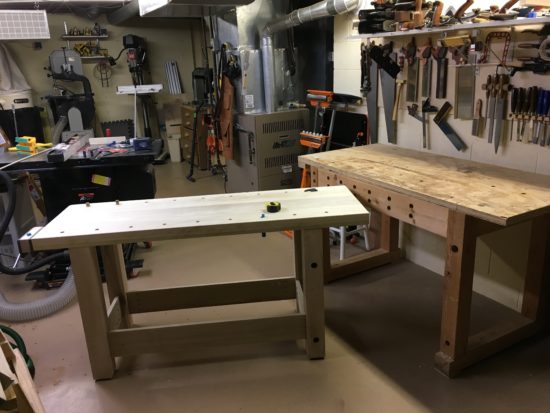


 which are pre-glued and dimensioned boards that eliminate most of the milling we'd have to perform to get them ready for cutting and assembling.